
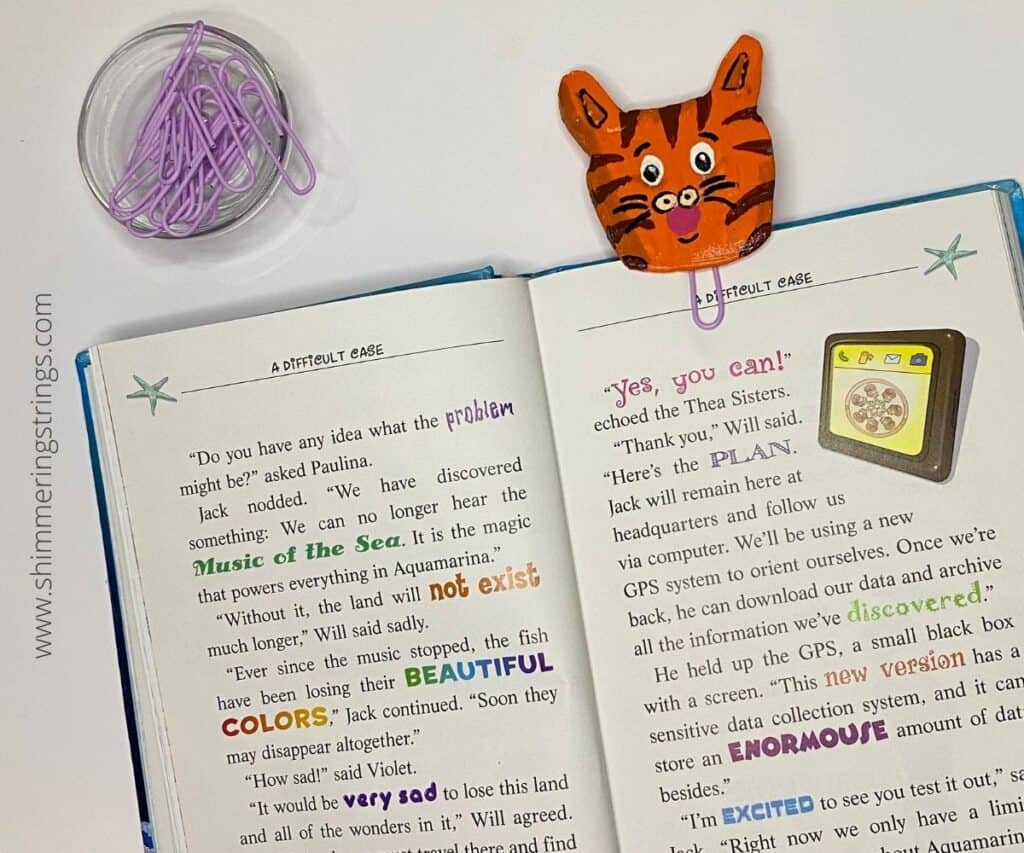
As much as we love our e-reads and other digital gadgets, there is nothing like holding a wonderful physical book in our hands, so bookmark! So why not make a lovely cute clay fat cat paper clip bookmark that will not only keep a place in our kids’ storybooks but will also make them smile?
Children have always been fascinated by animals. They enjoy making and displaying animal crafts.
I thought this clever DIY air-dry clay fat cat paper clip bookmark craft would be great for encouraging kids to read a bedtime tale regularly.
In This Post
How to Make a Fat Cat Paper Clip Bookmark with Air-Dry Clay
It’s a little time-consuming project because you have to color and let dry numerous times, but I believe the effort is worthwhile.
The best part is that you can involve your kids in coloring the face of this DIY clay orange cat bookmark and enjoy spending valuable time together.
With just a few basic supplies, we can get started on this interesting air-dry clay fat cat paper clip bookmark project!
What you need:
- air dry clay
- rolling pin
- one 2 inches fat cat paper cut out
- clay modeling knife
- acrylic paint- orange, black, white, burnt sienna, red, flesh tint
- paint brush– 0, 2
- mode podge
- paperclip
- adhesive-E6000
- any smooth and non-sticky surface/mat
STEP-1
So start by drawing a fat cat face around 2 inches in size on a piece of paper and cutting it down.
To create a DIY clay fat cat paper clip bookmark, we will begin with air-dry clay.
Take out a lemon-sized piece of clay and knead the clay thoroughly to form a smooth and fine dough ball.
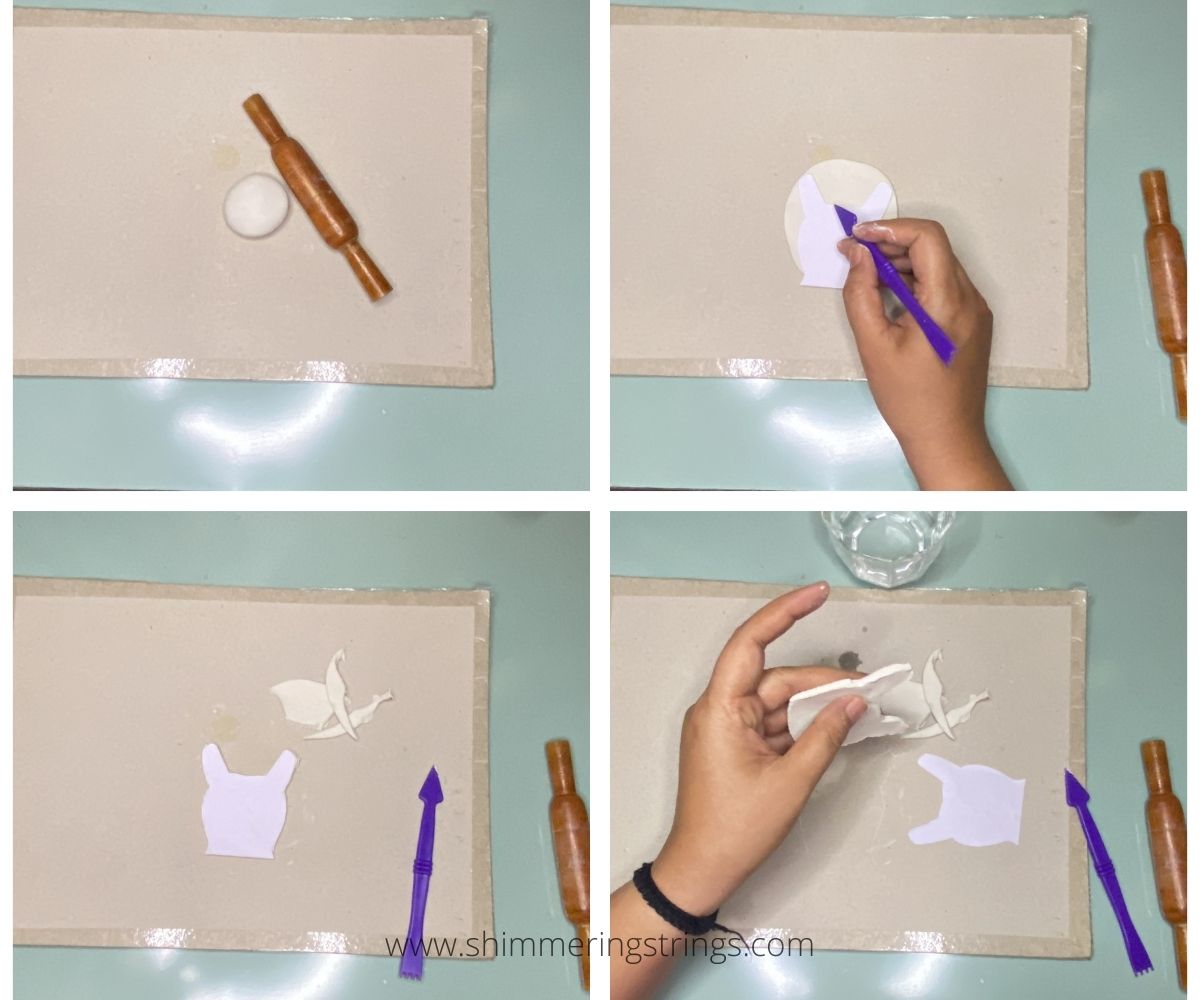
It’s important to ensure that the dough ball is free of any cracks and has a smooth surface.
Simply roll out the clay into a little flat round disc.
Now place that ‘fat cat paper cut out’ on the flatten disc and trace the lines accordingly. Cut out the clay face using a utility knife firmly.
You can even cut it directly without tracing the line on clay, as I did.
After lifting the cat face, smooth the edges with moist fingertips if necessary; alternatively, leave it as is to give it a raw look.
STEP-2
Add details to your cat’s ears with a modeling tool, as shown in the image.
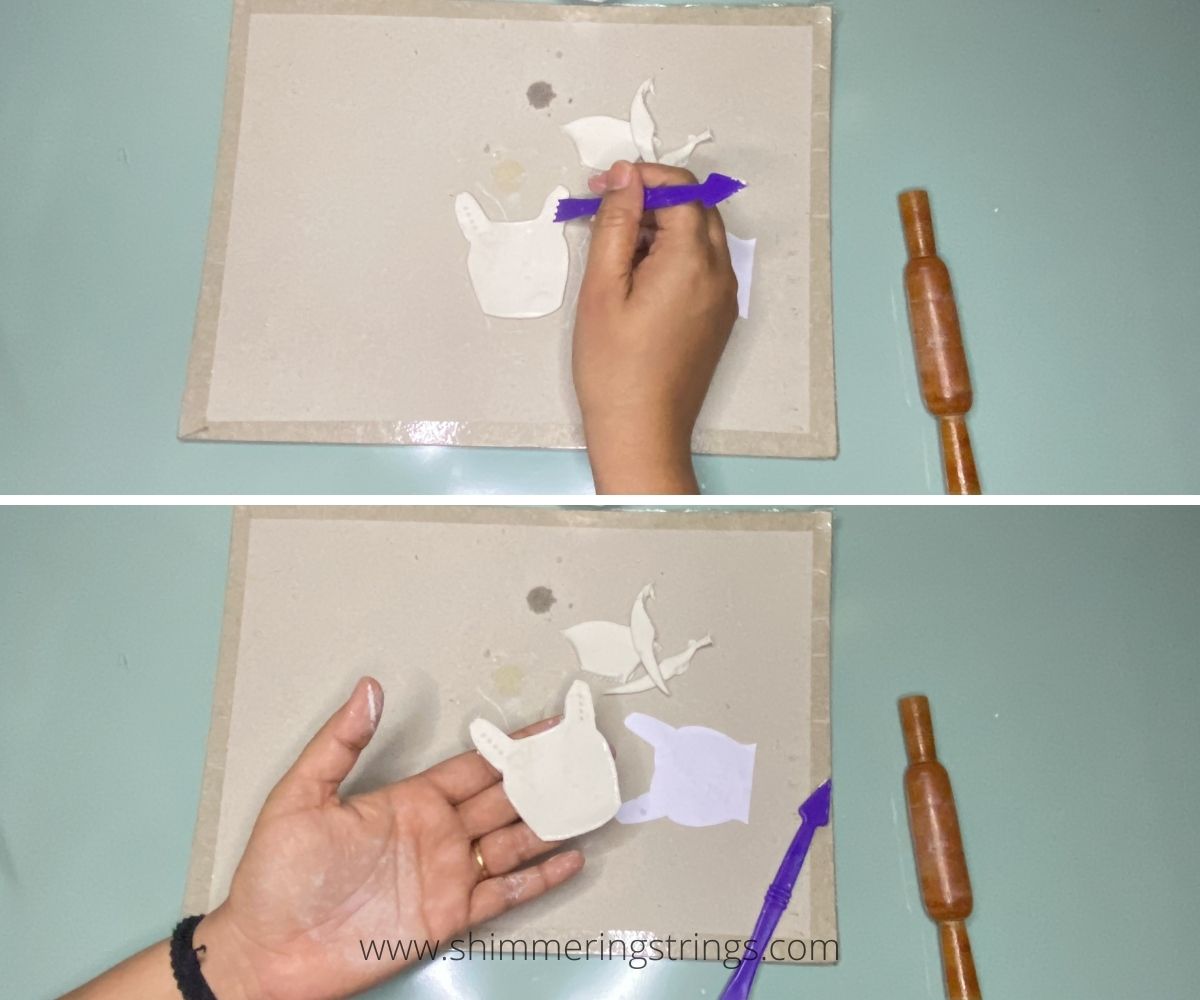
Lay aside to dry for at least 48 hours. You could also use toothpicks.
Cool free printable coloring pages for adults
STEP-3
When it gets dried up, use sandpaper to smooth the edges. Carefully sand the edges with the sandpaper until they get fine.
Using a soft and clean cloth, remove the dust from the clay cat and your working desk.
The next step is to color me. This ‘color me’ step can be enjoyed with kids, so pick the orange color and start painting. I used no.2 paintbrush for it, and a no. zero for the other details.
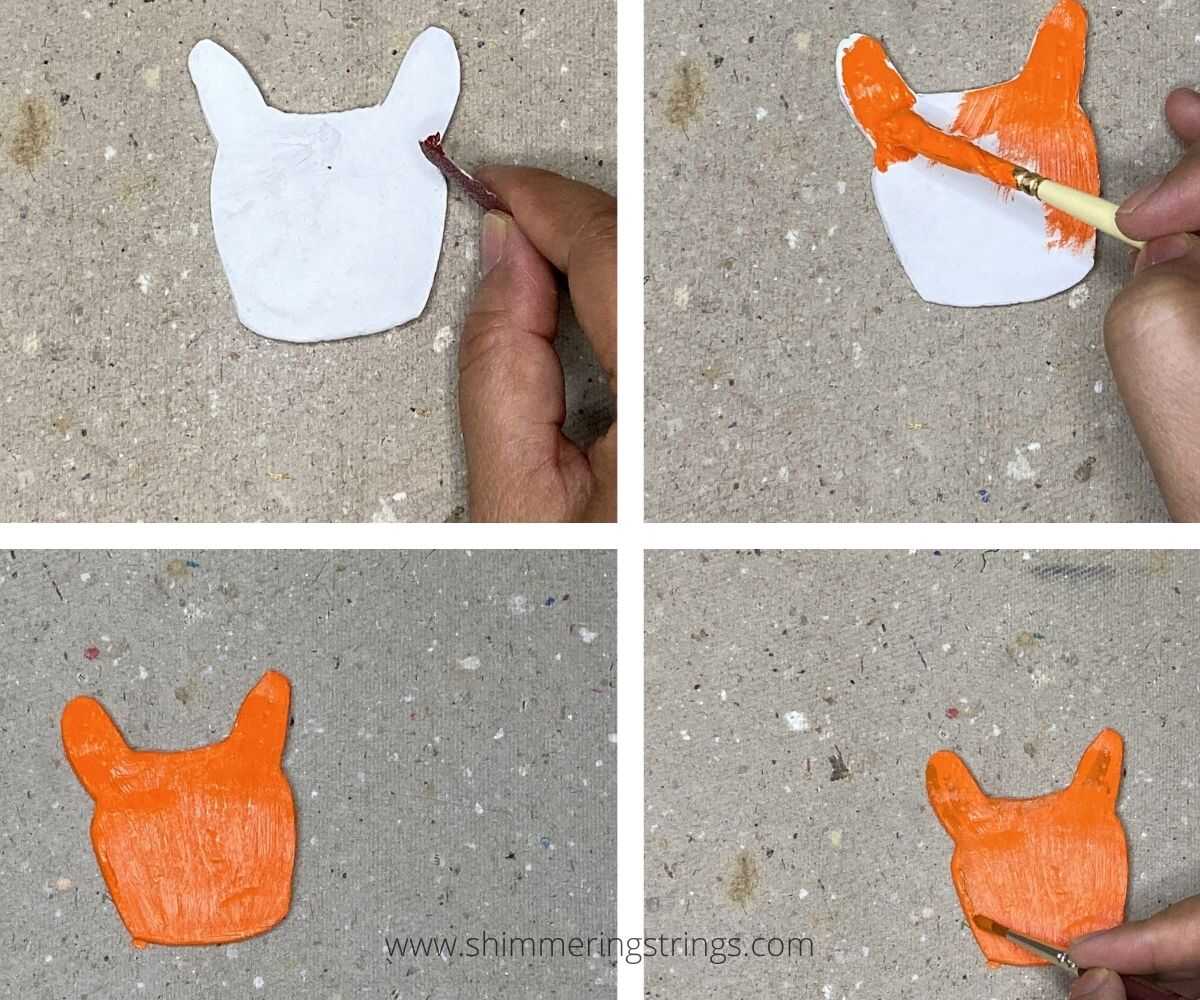
To enhance the face, color the clay cat face orange thoroughly on both the front and back sides twice.
When finished, set aside to dry for 30 minutes or more.
After that, mix a pinch of black into the orange color and paint only on the edges of the front part to create a shadowy effect. Allow it to dry for another 15 minutes.
STEP-4
The next stage is to create ‘the cat’s expression’… so paint some stripes. I used burnt sienna for it.
I chose flash tint color for the nostrils, and black & white for the eyes.
To make pink for the tongue, I added a sprinkle of red into the white.
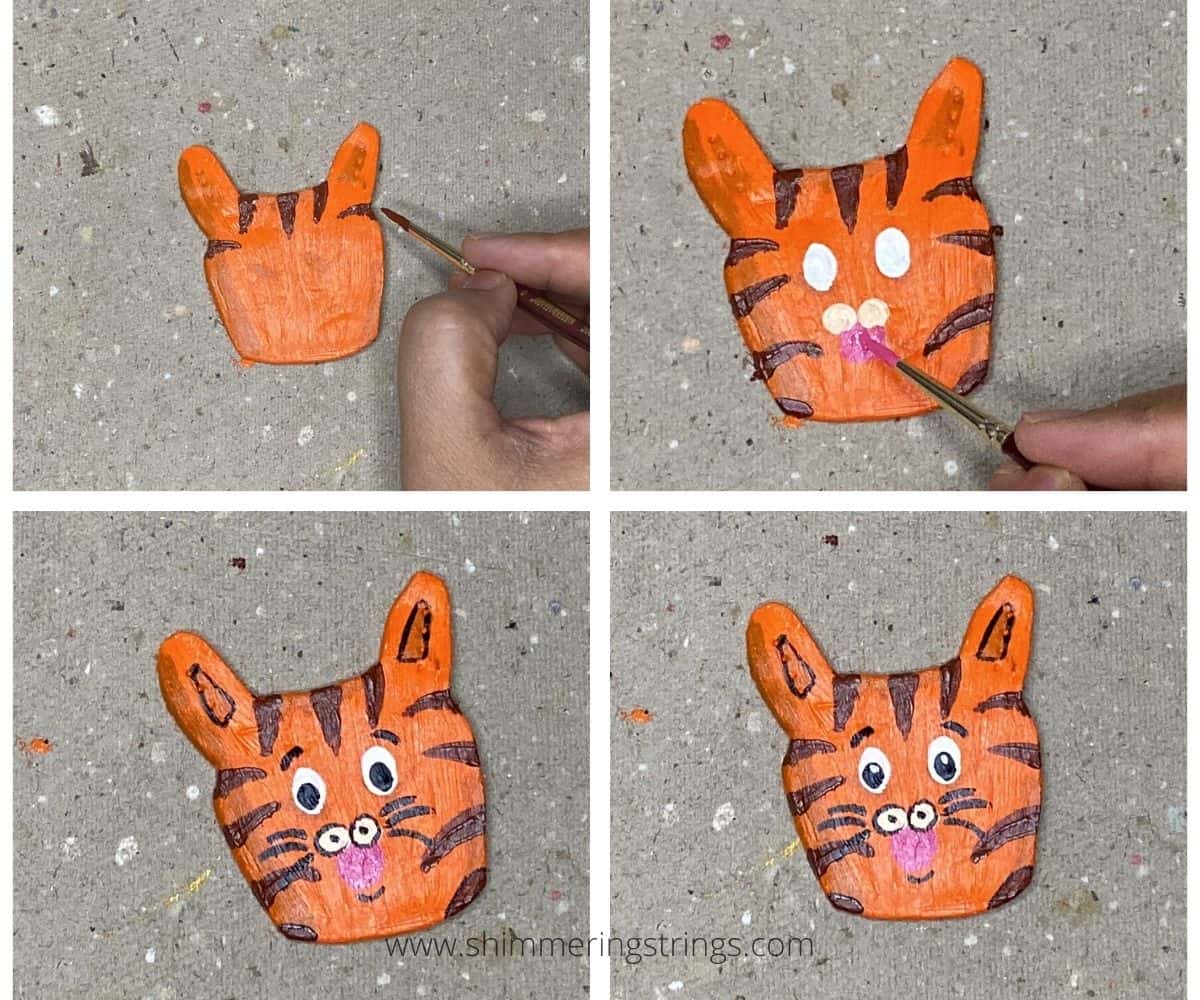
After above step, allow it to dry for a few minutes before finishing the nostrils with black outlines and drawing some black whiskers.
For eyes, paint black dots on white circles and let it dry for 15 minutes. To finalize the details of the eyes, place smaller white dots on black circles and add black brows.
Now let it air dry for 24 hours or more in a quiet area.
DIY wall hanging with beautiful mandala on a cardboard roll
STEP-5
After finishing the coloring and drying task, seal the color using a sealing agent. I applied mode podge. You may use other ones.
I prefer mod podge because it produces a rapid and excellent outcome.

Evenly apply the mode podge all over your clay bookmark with a brush or your finger. Let it dry for another 1-2 hours.
Sealing is a good step to keep your clay craft safe from chipping and deterioration. Furthermore, it fosters and beautifies the project.
STEP-6
Finally, use a strong adhesive to glue one paperclip on the back side of the cat’s face and leave the animal for at least 48 hours to dry.

I suggest using E6000 Craft Adhesive to ensure that the paper clip does not fall out of the clay fat cat. It is incredibly strong but overly hazardous, so please use it according to it’s packet’s instructions. I used it when there were no kids around because safety is top priority!
Alternatively, you can use mod podge, a hot glue gun, or any other strong tried and tested adhesive.
Simple Zen Patterns on Graph Paper
Once dried out, your cute clay fat cat paper clip bookmark is ready to join your child’s bedtime stories.

This adorable DIY clay cat craft not only adds cuteness and a woodland feel to your child’s space, but it can also be repurposed in several ways, such as sticking a magnet to make it a fridge magnet or pasting a soft board pin to make it a part of your child’s vision board.
You may even make a hole in it during shaping process, and insert a ribbon to make a crazy pendant for your children.
So the sky is the limit and you can choose your imagination to make your favorite orange clay fat cat paper clip bookmark craft.
Easy geometrical design with a compass
Video Tutorial
Overall, I think it turned out really cute, and I enjoy projects designed specifically for children.
free printable coloring pages for kids having a geometrical theme
Due to the fact that physical books are far from extinct, bookmarks remain important. I hope you’ll add some sparkle to your place as well!

More Clay Craft:
DIY glittery clay coaster with air-dry clay
This post contains affiliate links, This means if you click on these links and buy the products, I may get some benefit at no extra cost to you. I am an independent blogger and the recommendations are based on my own opinions and totally unbiased.