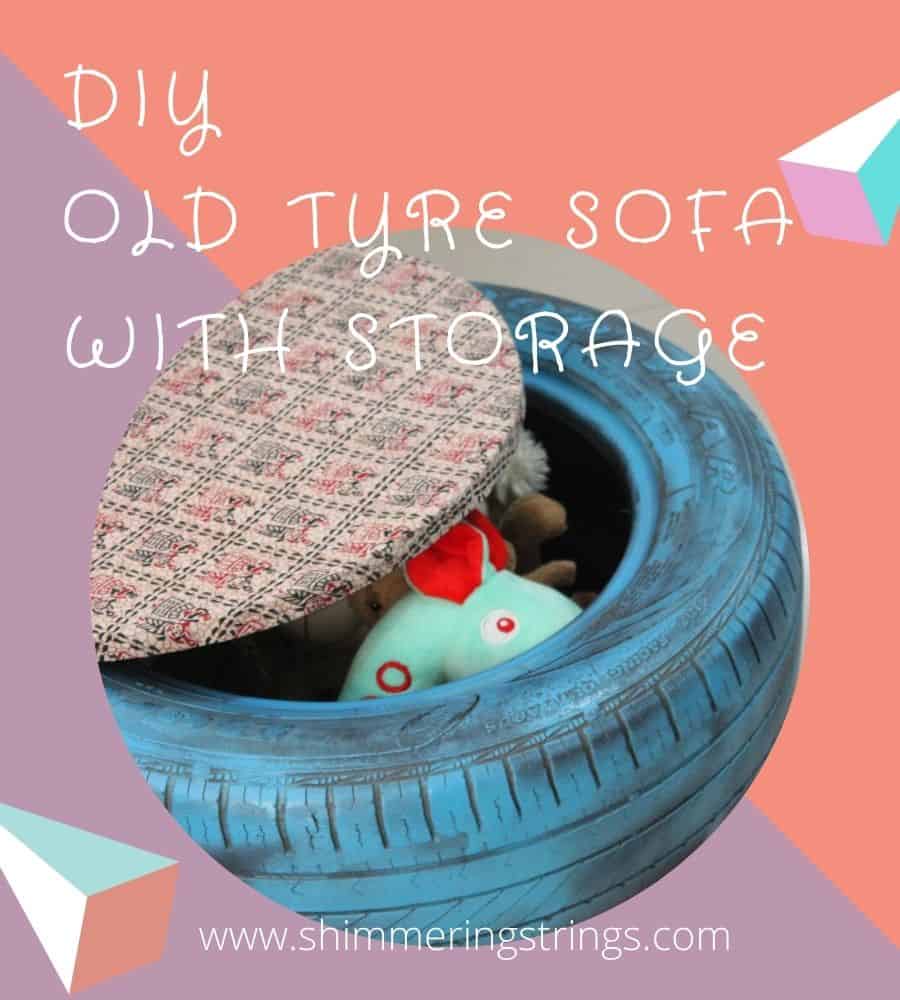
In this DIY project, I am going to pretty up those old rubbish tyres which I was about to throw a while ago. Yess… some old tyres and a DIY simple sofa project.
Whether you want to decorate your drawing area or your balcony or even your terrace garden, this is the perfect disguised upcycle furniture with some cool storage. So shall we start with it?
Video Tutorial On DIY Tyre Sofa With Storage
This is the video tutorial on the old tyre DIY sofa project. If you are not contented with this slide, please follow the below super easy instructions step by step.
What You Need
- Two Car Tyres
- Hand Drill Machine
- Two Screw/ Bolt and Nut
- Screwdriver
- Spray Paints
- Cardboard Sheet
- Ribbon/ String
- Circular Wooden Piece (25 cm radius)
- Mod Podge/ Any Strong Adhesive
- Cushion

STEP-1
First, make two holes in both the tyres exactly opposite to each other with the help of a hand drill machine like the above image.

STEP-2
Take one bolt and insert it in one hole from the inside of a tire so that the bolt thread will come outside. Do the same on the second hole of the same tyre.
Related Post SIMPLE DIY CONCRETE TEALIGHT HOLDER

STEP-3
After inserting the bolts, lift that tyre and place the bolted side on the top of the hole parts of the second tyre.
Now attach the bolts of the first tyre to the holes of the second tyre and press them well.

STEP-4
Put nuts in the bolts and tighten them very well with the help of a screwdriver.
Related Post DIY WALL HANGING WITH BEAUTIFUL MANDAL ART ON CARDBOARD TUBE

STEP-5
Make sure that both the tires are properly attached to each other like the above image.

STEP-6
Continue the project, and make four holes on the top of the tyre stack with the help of a hand drill machine.

STEP-7
Fetch a ribbon or string and weave it like the above image to make a base for the storage box.
Related Post DIY CEMENT REFRIGERATOR MAGNETS

STEP-8
Pick some spray paints. I took two colors pink and blue. You can paint with single color or anything like your way.
Be careful when you paint and wear a mask as spray paints may dangerous. Cover the second tyre to protect it to get spoiled if you go for two colors.

STEP-9
Let it dry for a while. Put the ribbon side down and place a cardboard sheet of the required size at the bottom.
Related Post COOL AND LOW-COST EDUCATIONAL GADGETS FOR KIDS

STEP-10
The last step of the project… take a circular wooden piece having a radius of 25 cm. It can be arranged from any timber shop or carpenter service shop in your local market.
Find a larger cloth piece and paste it on the wood with the help of mod podge.
I used one of my old ethnic dresses for it. You may use any adhesive which you feel great for cloth and wood as well. Even you can staple it.

Let the wood dry for a couple of hours before using it. It will look like this when you keep it on the tyre stack. Place one cushion on it.
Related Post FREE PRINTABLE COOL COLORING PAGES FOR ADULTS

So here is your hard work with some cute stuff to store in it. I made two pieces from four tyres and kept them in my living room.
These artefacts are quite sturdy and look cool. I hope you liked this DIY project with old tyres. Keep reading my blog for more fun DIYs and keep sharing my thoughts too.

This post contains affiliate links, This means if you click on these links and buy the products, I may get some benefit at no extra cost to you. I am an independent blogger and the recommendations are based on my own opinions and totally unbiased.

