During this festive season, I feel very keen and happy to decorate my home by making something myself. That joy is higher than any expensive thing bought from a market.
For some holy smoke, this Diwali I have made a DIY cement tealight candle holder with my kid’s toy.
Yes, you read it right. You don’t need any silicone mold or a single-use mold. Moreover, there is nothing to worry about the toy as it will not be spoilt either.
If you are reading this for the first time, then let me tell you that it is not the first time I am using a toy for my DIY project.
You must read my ‘this post’ as it’s another idea that you can try with your kid’s toy. So let’s not extend your wait any longer and start working.

What You Need
- White Cement
- Gold Spray Color
- Tealight Candle
- Water
- Any Bowl
- Spoon
- Few Drops Of Any Colorless Oil
- Soft Cloth
- Along with these supplies, you just need to steal your child’s toy again…since she is not going to give you his precious curio 😋.
How To Make DIY Cement Tealight Candle Holder With Your Kid’s Toy
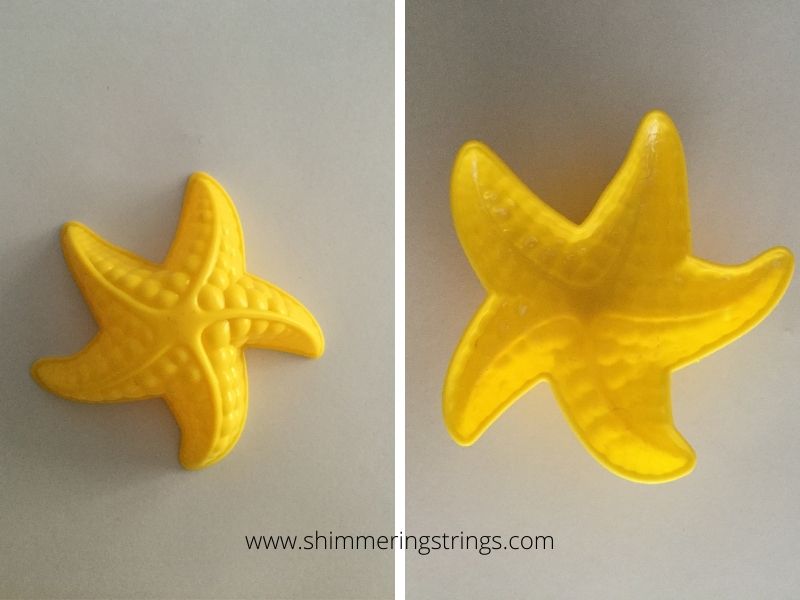
Ahemm..so this time I stole a toy from her Summer Beach Set.
There were many molds in that beach set, like sea horse… fish… turtle… conch… but I found this Starfish mold supercool.
Upon seeing it, my DIY worm squeaked and this tealight holder making idea came to my mind.
Related Post WALL HANGING WITH MANDALA ON CARDBOARD TUBE

STEP-1
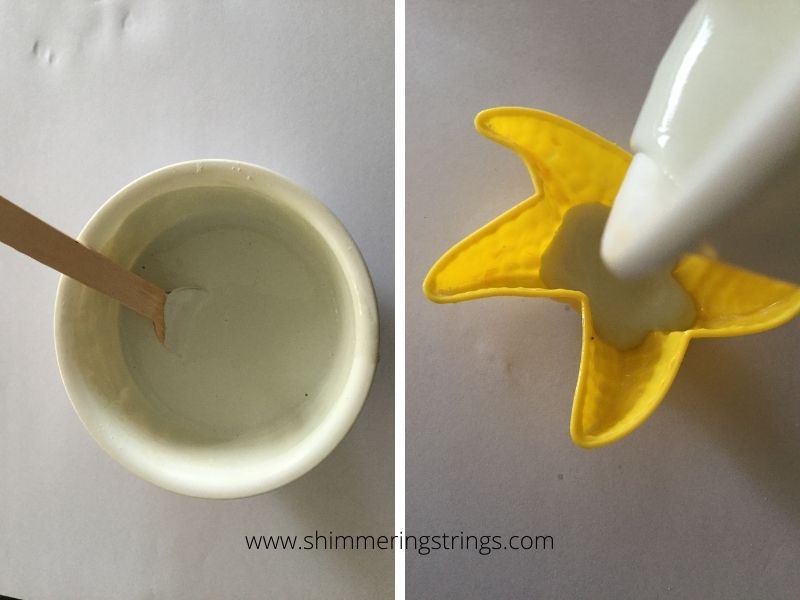
Making of this tealight candle holder is very easy. First, Apply some non-sticky oil inside of the starfish mold.
STEP-2
Now, wear a dust mask as you may inhale cement’s particles while mixing it. Mix three-part cement with one- part of the water in a bowl.
Or you can follow the instructions given on the cement pack. Stir it with a spoon till it gets a pancake batter consistency.

STEP-3
When it becomes a perfect batter, don’t keep it for long and pour the mixture into your mold slowly. Fill the mold 3/4 of the way.
Slam the mold slightly to remove the air bubbles and spread the mixture evenly in the cavity.
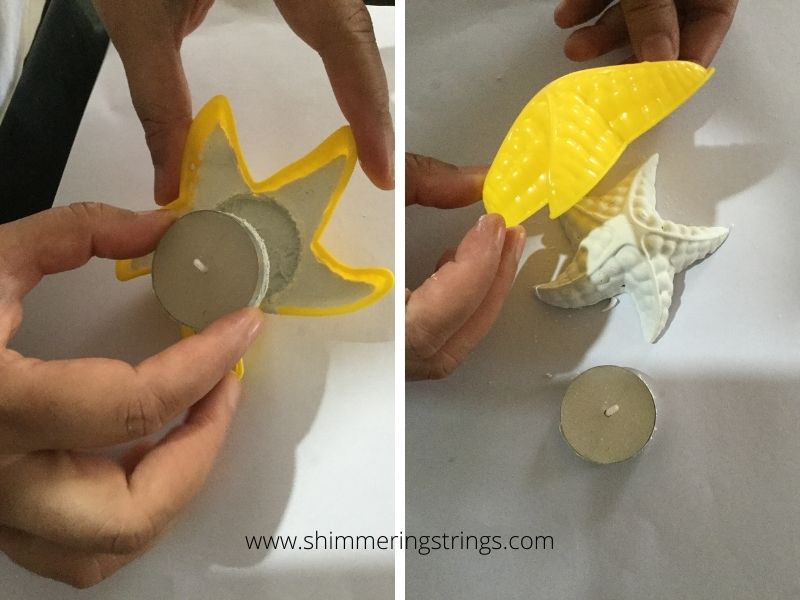
Put one tealight candle in the middle of the mold and press it firmly, so that tealight can make its space.
Set aside and allow to dry for 24 hours to make it well built. You can remove your mask.
STEP-4
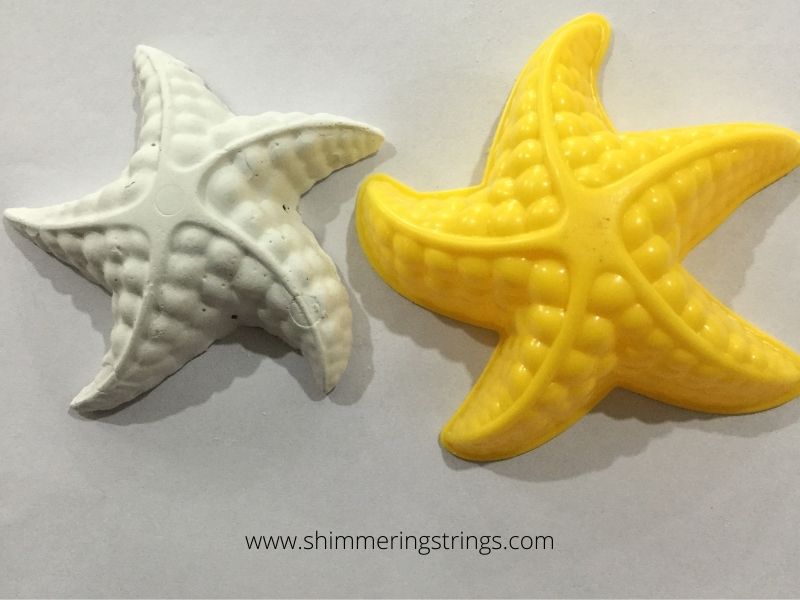
Once dry, take out the tealight candle and pop out your cement tealight holder from the mold carefully. Don’t bang it, as the holder would come out easily.
Related Post CRAZY DIY FASHION ACCESSORY/ BAND
STEP-5
If desired, smooth up the edges with a soft cloth firmly, or else leave it as is to give a rusty and antique look.
Related Post Enhance Your Kid’s Study Desk With This AMAZING STATIONERY LIST

STEP-6
Your DIY cement tealight candle holder using your kid’s toy is ready to fill the entire house with the holy smoke.
Make it fancy with some gold spray color or you can keep its look natural and raw. or either you can do some painting or art.
Related Post DIY FOOTPRINTS BUT NO FOOTPRINTS BANNER

Here’s is something we can both agree on that… if you peep in your kid’s toy cupboard, you would get unlimited DIY projects’ ideas 😉 for sure.
I am diving into so much fun and ideas as well and going to explore them, next time.
So be with me and I’ll be back with more creative but easy DIY hacks with something stolen tools. Till then read my post DIY cement fridge magnets with a similar thought.
This post contains affiliate links, This means if you click on these links and buy the products, I may get some benefit at no extra cost to you. I am an independent blogger and the recommendations are based on my own opinions and totally unbiased.
Hand-Picked Products For You


Amazing and wonder full craft for Diwali good.
Good Art in simple way
Simple and easy
Wow… it’s looking super cool👌👌
Your words always work for me. Thank you!
Very Simple , interesting and good looking. Fab idea for diwali decor
Thank you. It’s a blessing to have a friend like you.😊
बहुत सुंदर तरीके से सिखाया गया है
Thank you!😍