This DIY colorful paper wall hanging is super easy, and the perfect party and festival decor for your home with no efforts. The best part? It takes hardly a few minutes to make and needs only some colorful papers.
This beautiful hanging can be used as a wall hanging or door hanging or toran. Toran is a festive garland hung in Indian houses as a door hanging or at the entrance of the house during festivals.
It’s a huge using celebratory prop during the festivals and events. It represents the abundant happiness and lots of positive vibes around the corner. There are multiple ways to make a toran or a wall hanging.
Here we will make an easy and jazzy piece without using glue or other messy things. So let’s not take long and create this easy DIY home decor with your family.
Video Tutorial On Surprisingly Easy Colorful Paper Wall Hanging/ Door Hanging/ Toran
Here is the video tutorial on this very easy DIY paper wall hanging. For more fun DIY ideas please subscribe to my YouTube Channel. If you are looking for more detailed method, just follow the below steps.
How To Make DIY Wall Hanging With Colorful Papers

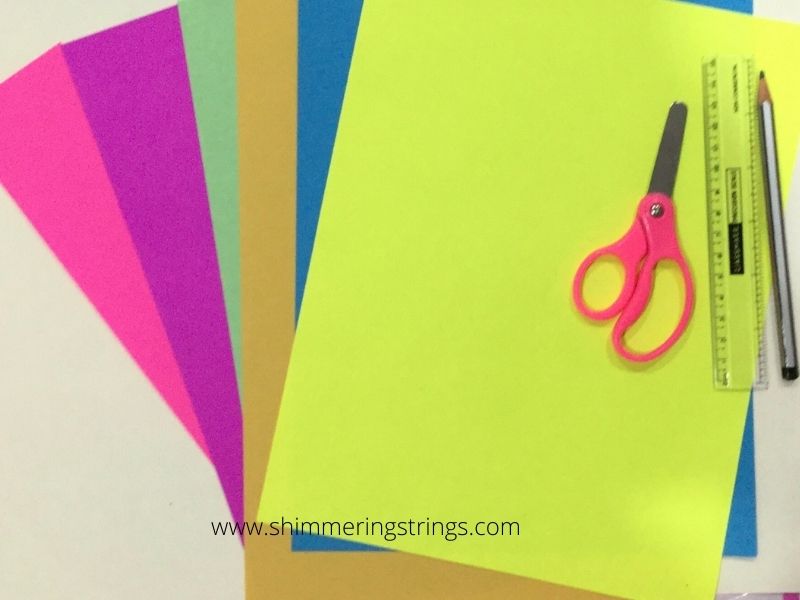
What You Need
- Colorful A-4 Sheets
- Scissors
- Pencil
- Ruler
- simple Thread/ Thin Ribbon

STEP-1
For making this wall hanging/ toran take one colored (any color) A-4 sheet.

STEP-2
Fold it diagonally to make it a square-shaped paper. Cut the extra strip and open the square paper.
Now, fold it vertically to make it double layer. Again fold it horizontally and you will get a square-shaped folded paper with four layers.
Related Post DIY WALL HANGING WITH MANDALA ART

STEP-3
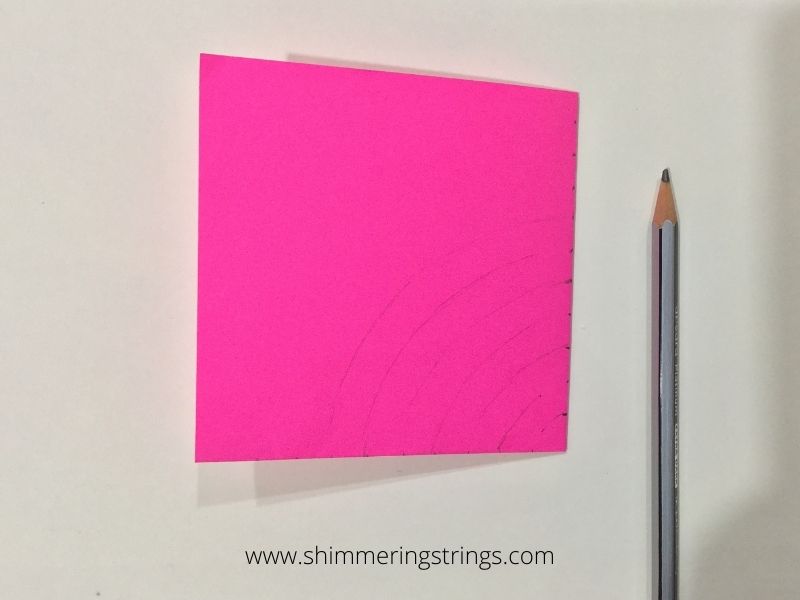
After layering the paper correctly, take a ruler and keep marking at a distance of one cm on the folded side.
Related Post EASY TRI-COLOR PAPER CRAFT FOR KIDS

STEP-4
Do this marking on the other folded side, making an angle of 90 degrees with the previously marked side, with the same pattern. Remember, mark only on the folded sides, not the open ones like the above image.
Now, the next step needed a bit of precision. Grab a pencil and draw a curve from the first mark of the folded side towards the first mark of the second folded side, but don’t join the marks fully.
You need to leave a space around one cm between the line and the second mark. Scribble your pencil with light pressure.

STEP-5
Continue the pattern and, do this till the last marked point.
Related Post CONCRETE TEALIGHT CANDLE HOLDER WITH YOUR KID’S TOY

STEP-6
Start cutting the smallest curved line first, from the single folded side. Cut the line carefully as you don’t need to cut until the end of the opposite mark. Leave about a cm portion uncut.

STEP-7
Here’s the important part… After cutting the smallest line, start the next one, but… but… but… cut the next line from the other side which has two folds.
And follow the earlier pattern…means leave a cm portion uncut at the end. You can follow the above image or follow my video tutorial.

STEP-8
In a similar vice versa pattern, cut all the drawn lines of the paper. In the end, you will get some scrape paper cuttings on your table and, your ‘on the way decor’ will be in your hands.
Related Post FOOTPRINTS BUT NO FOOTPRINTS BANNER FOR KIDS

STEP-9
So this is the interesting step… start opening your piece from the open side carefully. You will find your piece like a semi-circle shape, like the image no.2.
Now, once again open the semi-circle piece carefully and make a complete circle.

STEP-10
Open all the layers nicely as it may tear. After completing this task, you will get a piece like the above image.
Related Post EASY GEOMETRIC PATTERN WITH COMPASS

STEP-11
And now is the time to take your raw idol in a firm shape. First, press the center part upward to hold it like the above image no. 1.
Take a simple thread or a thin ribbon about 50 cm long and make it double.
Insert it from one hole to another at the center and, put the free edge of the thread in the loop.
Keep your finger at the center of the paper and pull the thread upwards slowly. This will cause a knot there at the center.
In the end, hold the thread and lift this cutout up, and your hanging is ready. Stretch its edges lightly with fingers to enhance its cuts and curves.

STEP-12
Make a few more hangings with different colors and different lengths and attach them to a ribbon around 110 cm long or, according to your place where you want to hang it.
You will get your surprisingly easy and beautiful wall hanging/ door hanging or toran for your festivals and parties.
Rather, you can add it to your holidays’ craft list. The choice of colors is all yours so your child can fill his room with these hangings all around to give a bright and jazzy look to his space. If you are a stationery lover then, you must check this AMAZING STATIONERY LIST to find out your missing one.
This post contains affiliate links, This means if you click on these links and buy the products, I may get some benefit at no extra cost to you. I am an independent blogger and the recommendations are based on my own opinions and totally unbiased.
Hand -Picked Festive Decors For You


Wonder full idea for kids very very nice craft
What an interesting design! Maybe I can get my kids to try making one with me.
Thank you Liberty! I am eager to see your creation.🥰